The backsplash is small, but it sits at eye level in the room where you spend the most time, right behind the two things everyone looks at: the range and the sink. It is also one of the easiest places for a kitchen to look dated or unfinished. Here is how we help homeowners choose one that holds up, in looks and in use.
Start with the material
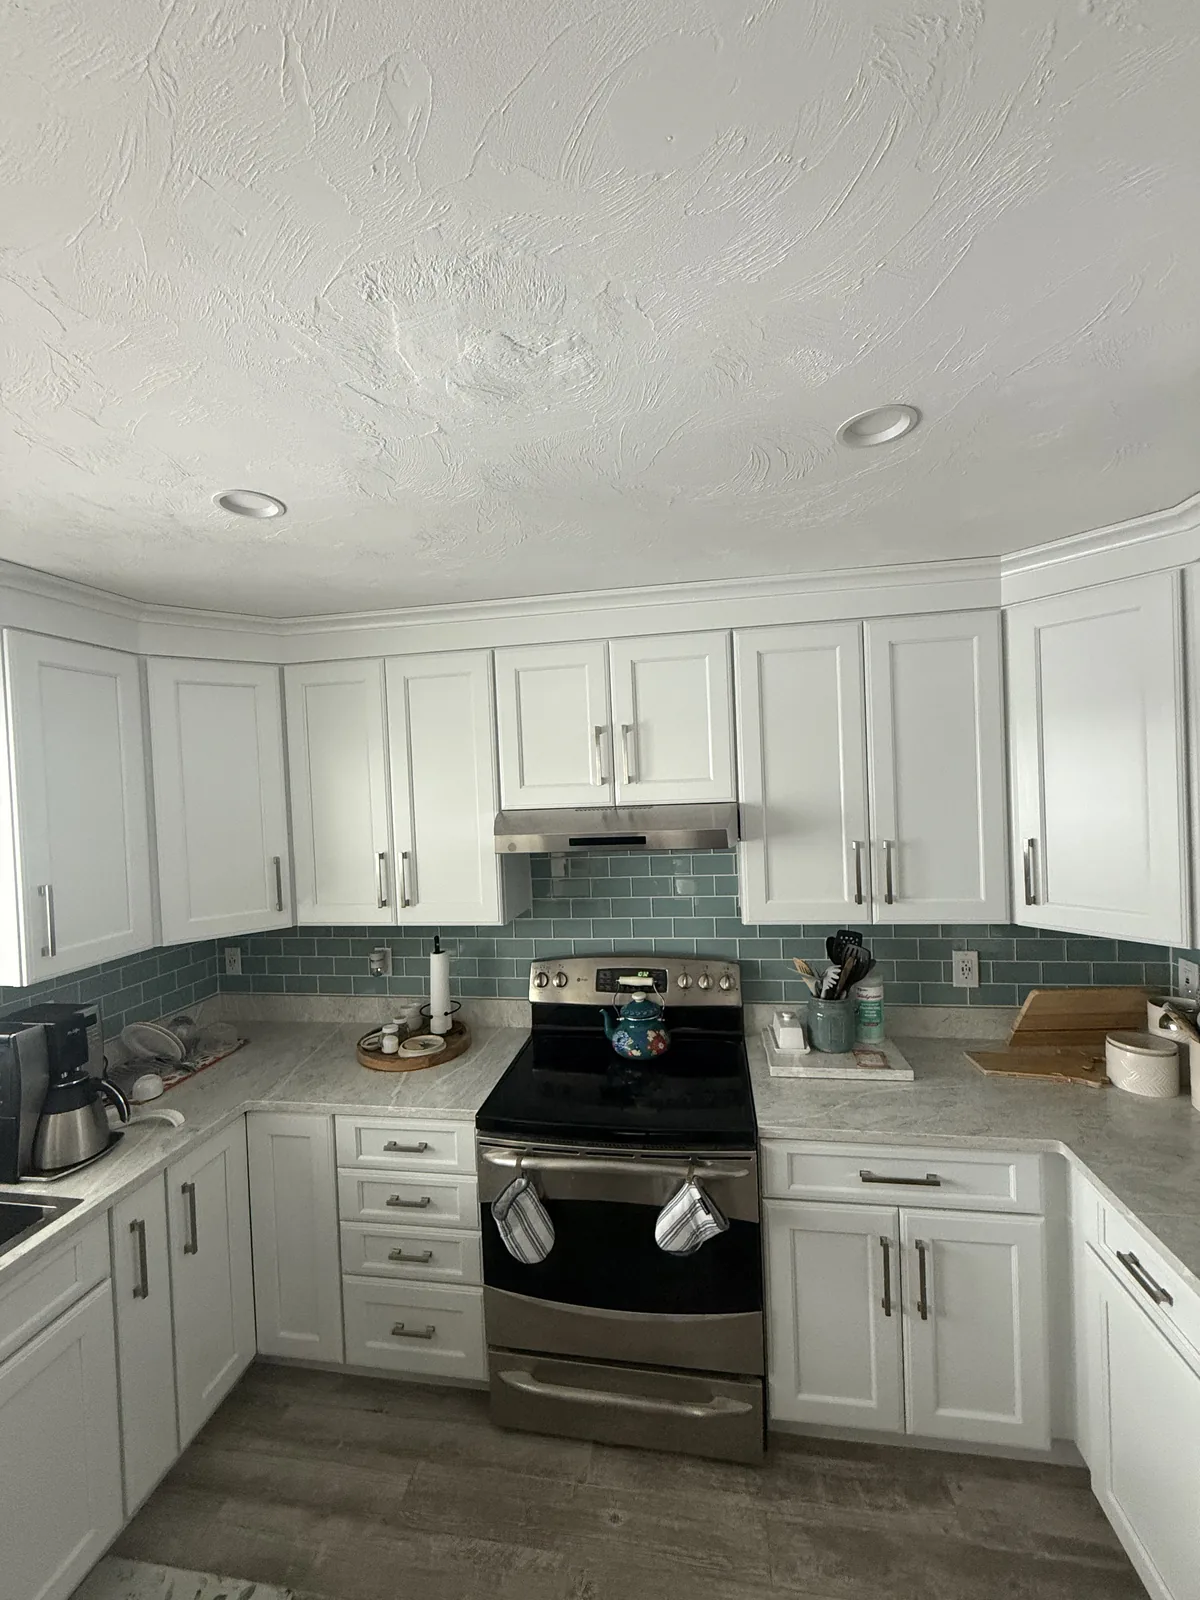
- Ceramic and porcelain tile are the workhorses: easy to clean, durable and available in every shape, from classic 3 by 6 subway to long slim rectangles and hexagons.
- Handmade and glazed tile has slight variations in color and surface that catch the light beautifully, especially under cabinet lighting.
- Glass is bright and easy to wipe, but it shows every flaw in the wall behind it, so the prep has to be perfect.
- Natural stone like marble brings real veining and a classic look. It needs sealing, and acidic things like lemon juice and vinegar can etch it.
Pick a pattern that fits the kitchen
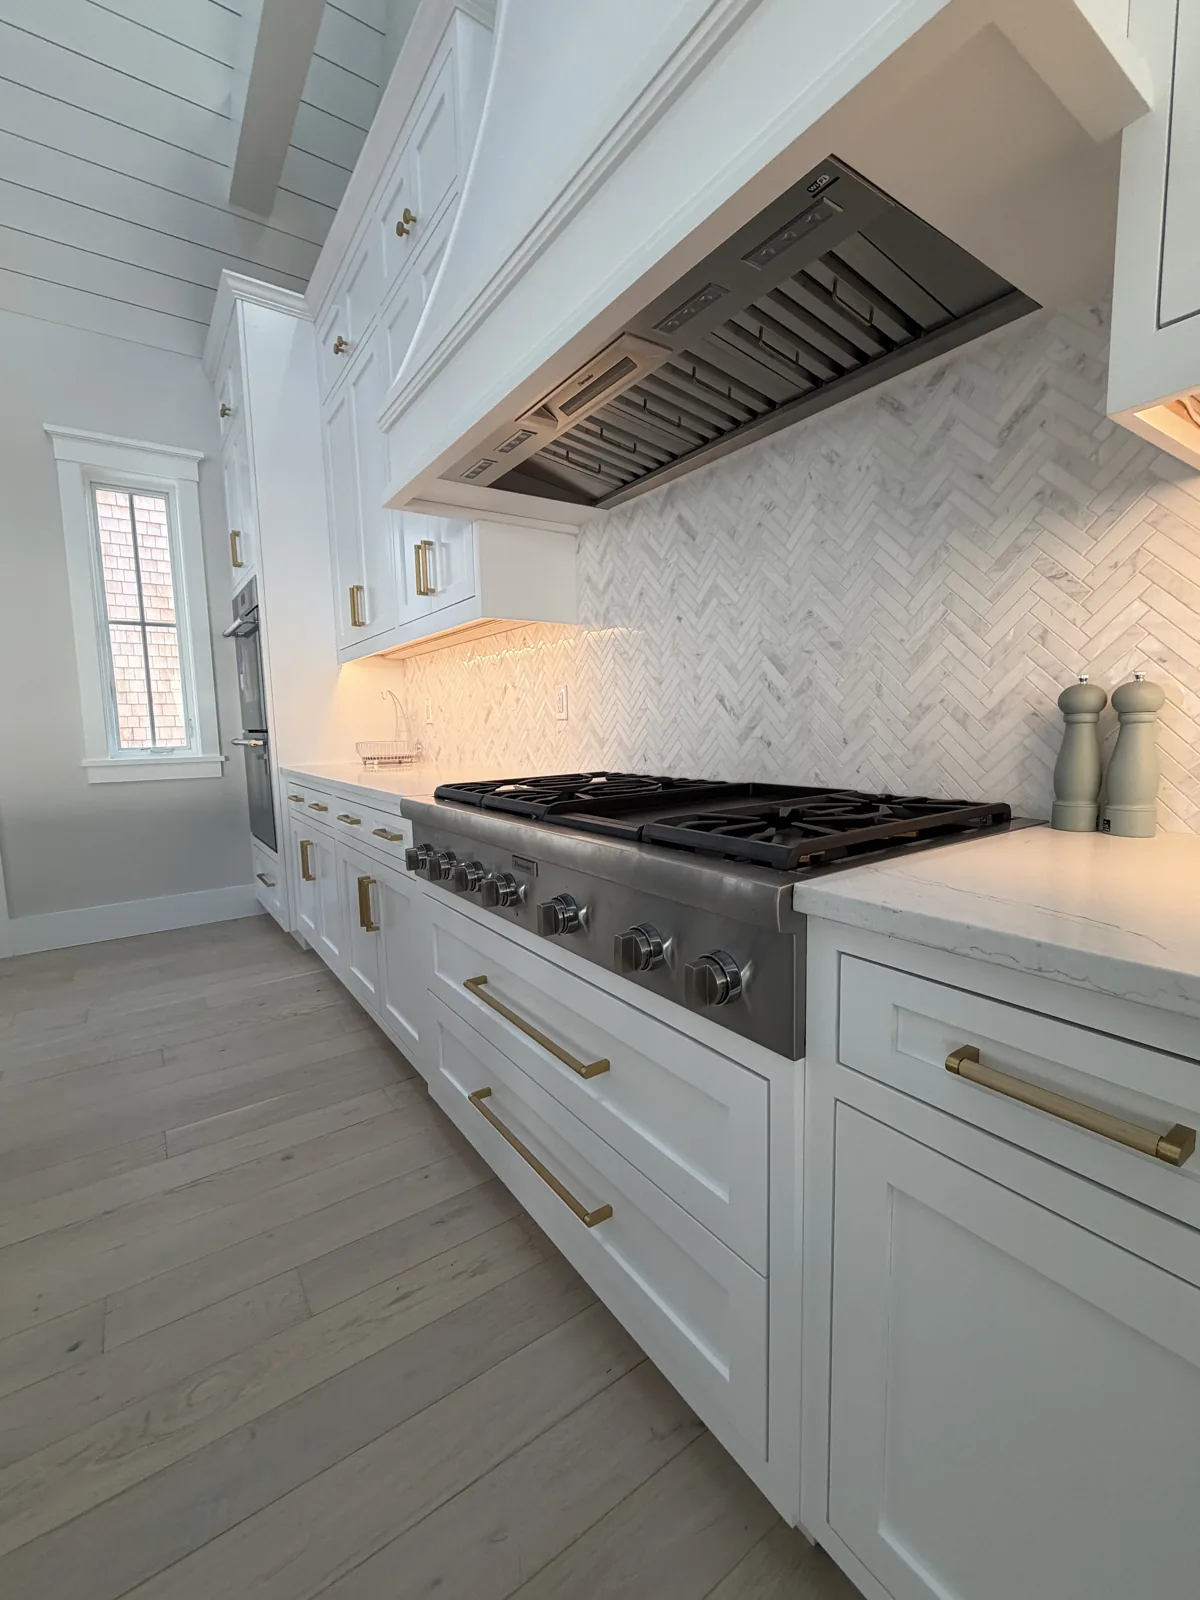
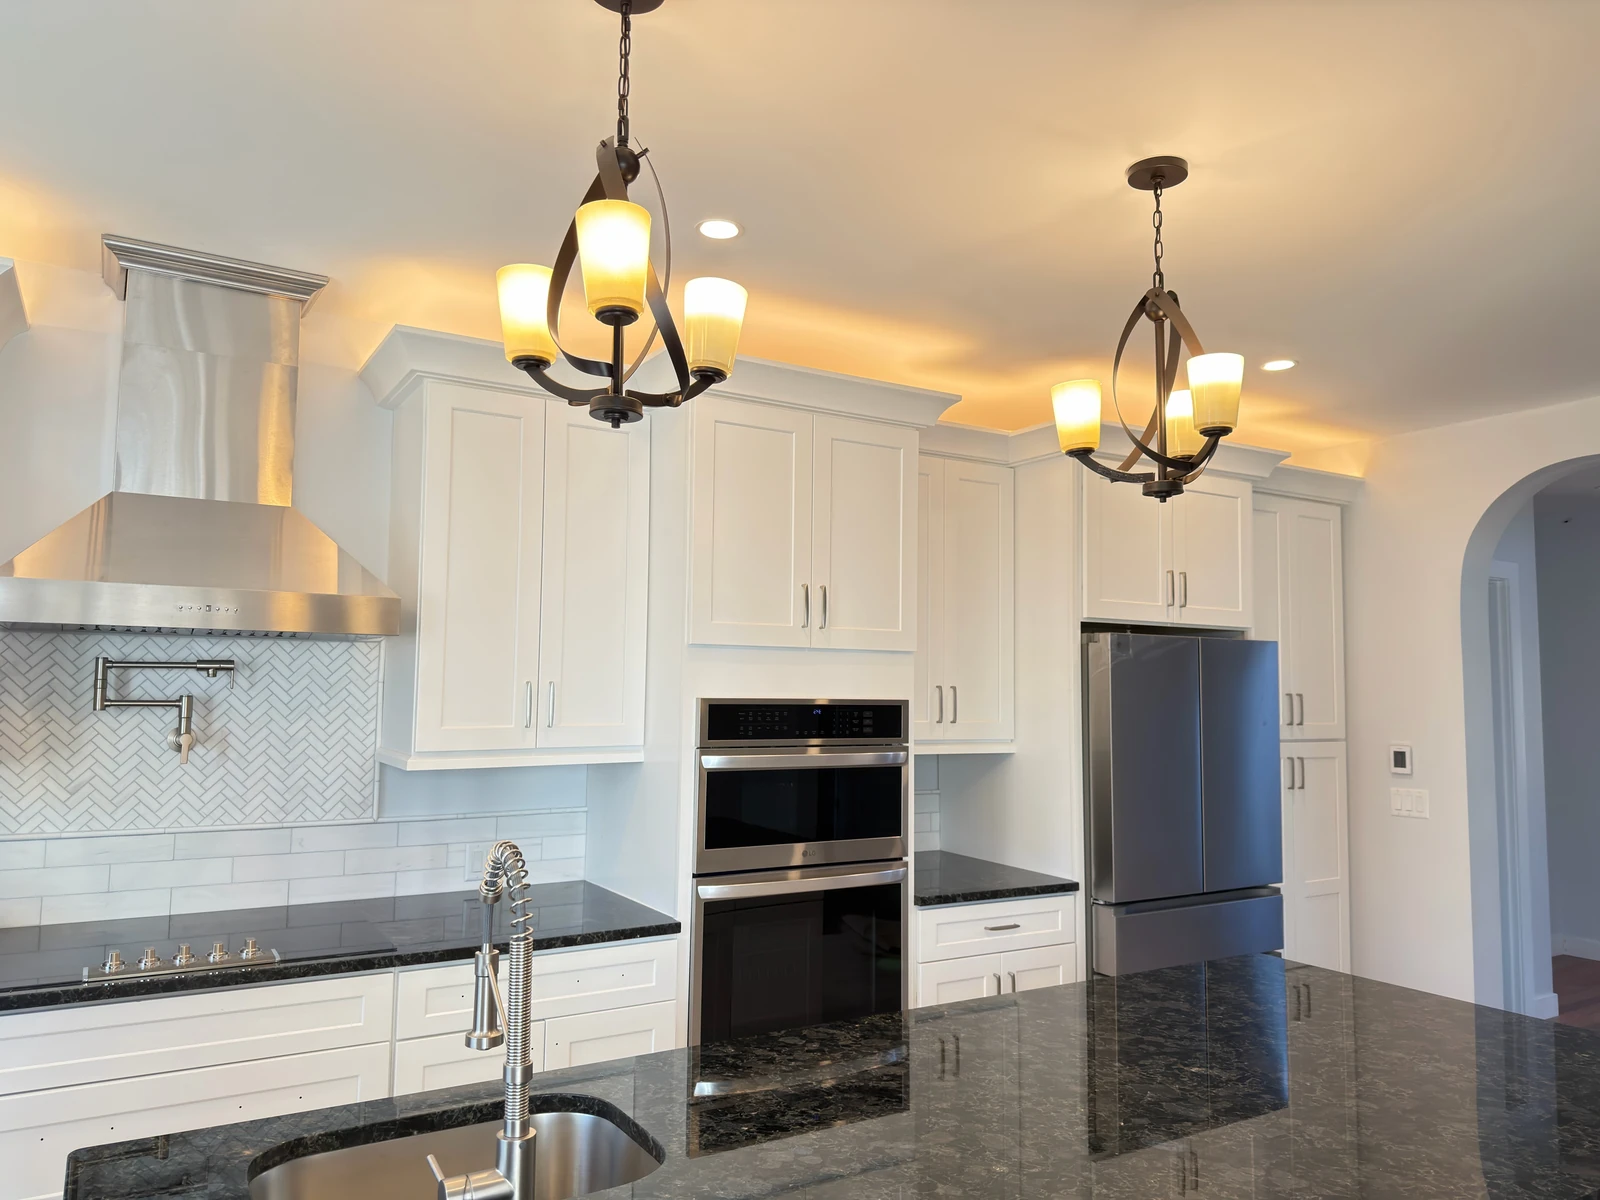
Running bond subway tile is timeless for a reason. A herringbone or chevron pattern adds movement and works well as a feature behind the range. Stacked tile, set in straight columns, reads more modern. In smaller kitchens one pattern throughout keeps things calm; in larger ones a feature panel behind the range can anchor the whole room.
Grout color changes everything
Grout is a bigger design decision than most people expect. Matching grout makes the tile read as one calm surface. Contrasting grout outlines every piece and makes the pattern the star, which looks great with simple subway tile but also shows every imperfection in the layout. If low maintenance matters most, a mid tone grout slightly darker than the tile hides daily life best.
Decide where the tile stops
This is the question that separates planned backsplashes from accidental ones. The usual options:
- Under the upper cabinets, the classic and most common choice.
- Up to the hood or the ceiling behind the range, to create a focal point.
- Full height on walls without upper cabinets, which looks intentional and modern.
- At the window casing or the end of the counter, always with a finished edge, never a raw cut.
Layout details that make it look custom
- Center the pattern on the range or the sink, so the cuts at both ends match.
- Plan around outlets and switches so the cuts land cleanly and the covers sit flat on the tile.
- Finish exposed ends with bullnose, pencil trim or a slim metal edge instead of a raw cut.
- Caulk the joint where the tile meets the countertop instead of grouting it, so the house can move without cracking that line.
- Install the backsplash after the countertop and lay it out from the finished top, so the first row sits straight.
Do not forget the lighting
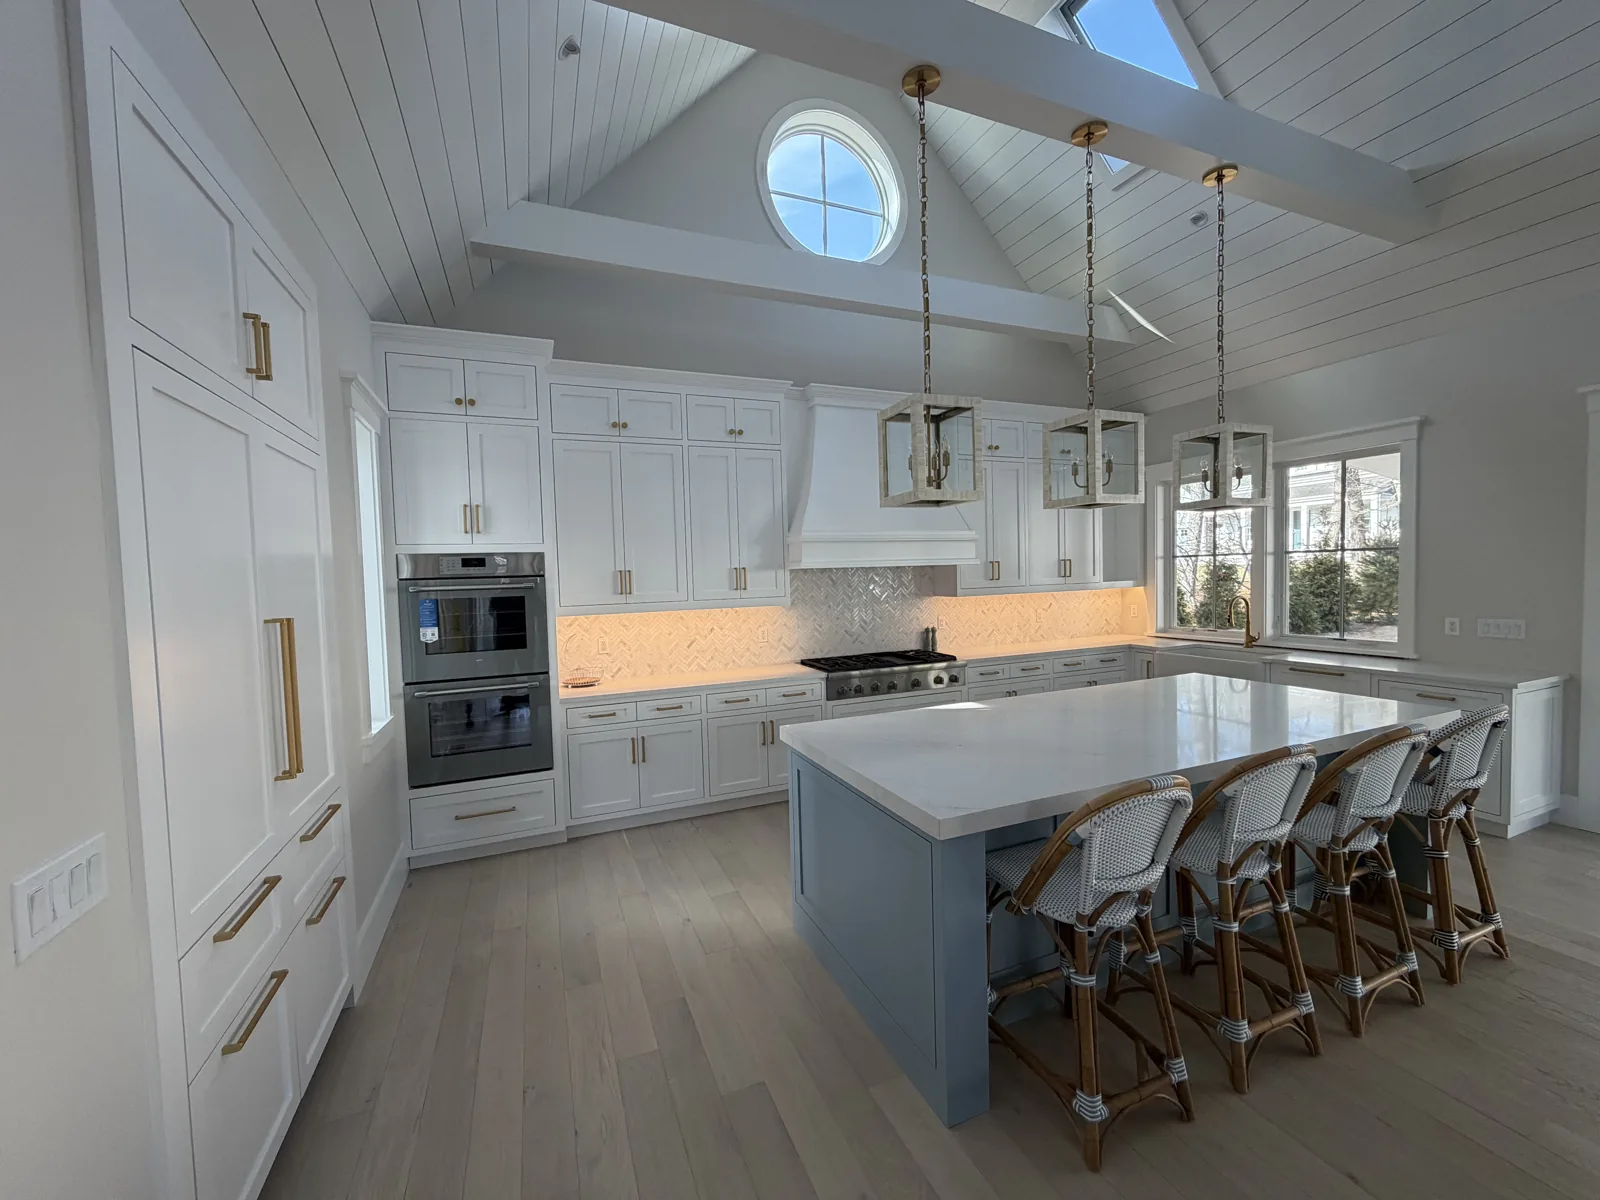
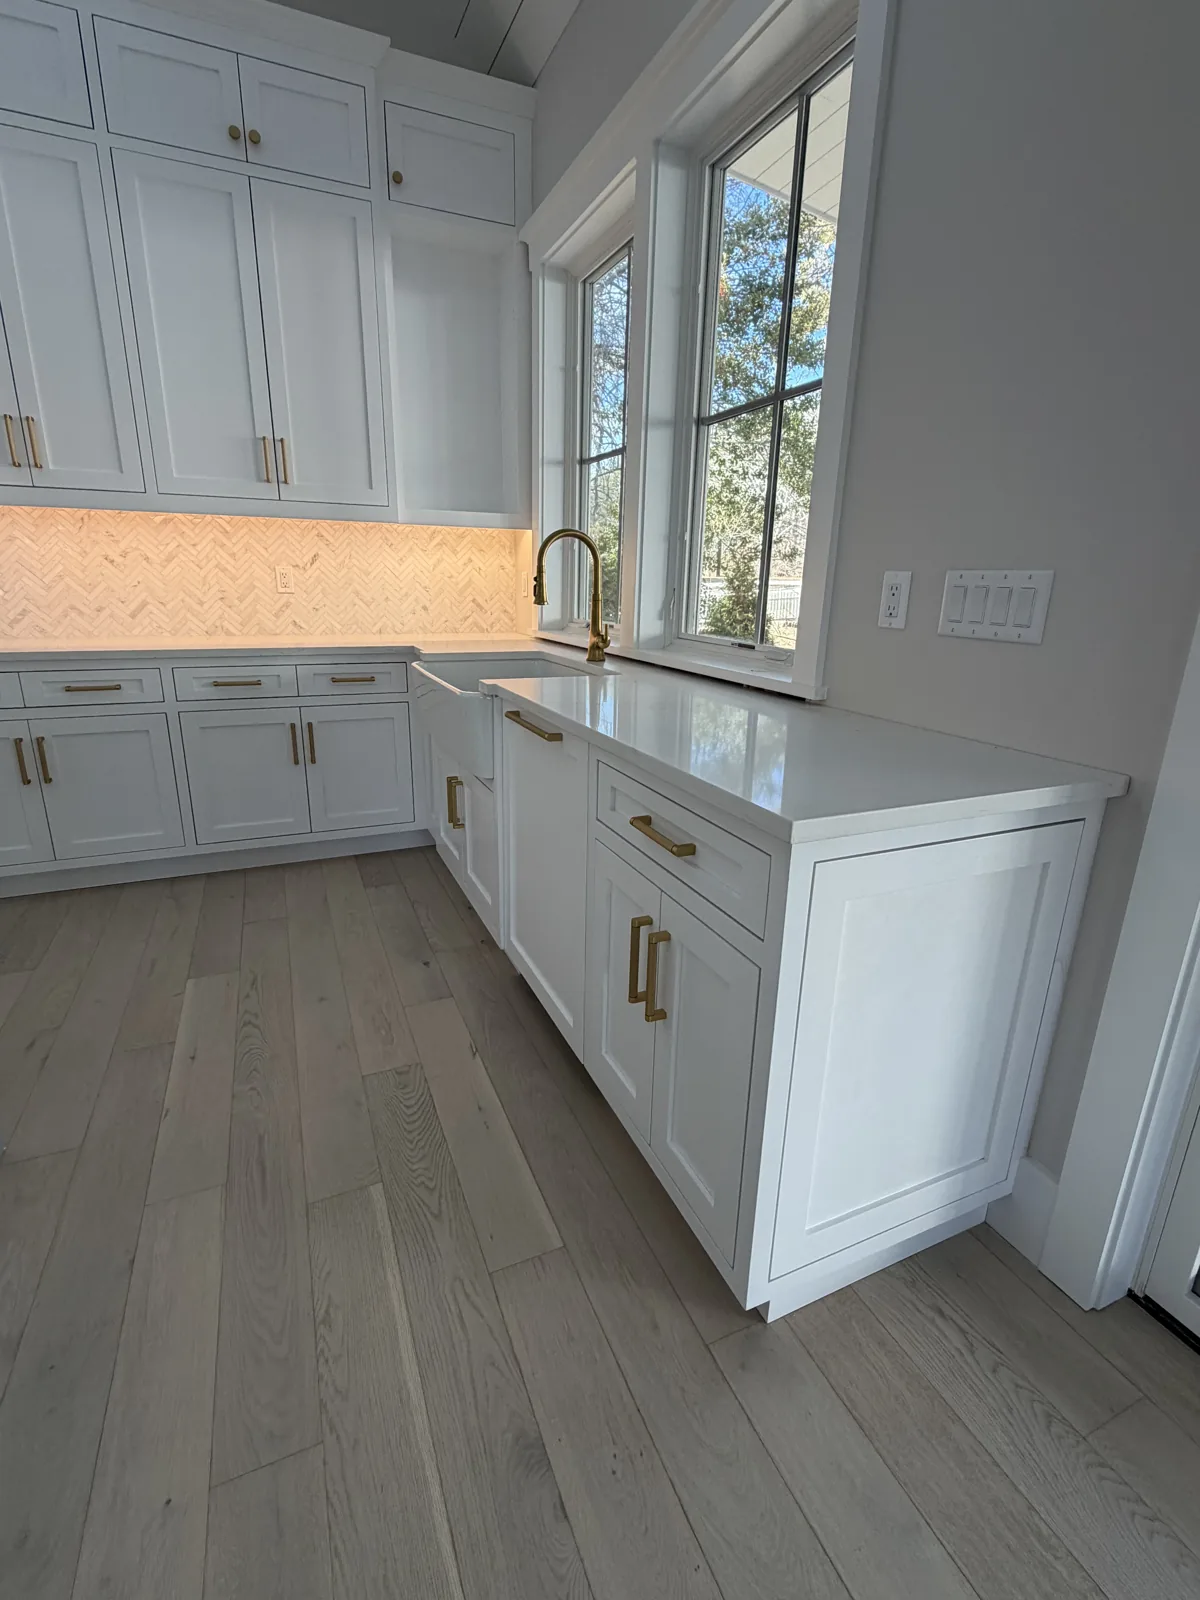
Under-cabinet lighting does two jobs: it lights the counter where you actually work, and it rakes across the tile so texture and glaze come alive. If you are adding or upgrading lighting, plan it before the tile goes up, so the wiring and fixtures land exactly where they should.
A backsplash takes a few days to install and years of looking at it, so the planning is worth the time. You can see more of our work on the kitchen backsplash page, and if new cabinets are part of the plan, read our guide to refreshing, refacing or replacing kitchen cabinets.